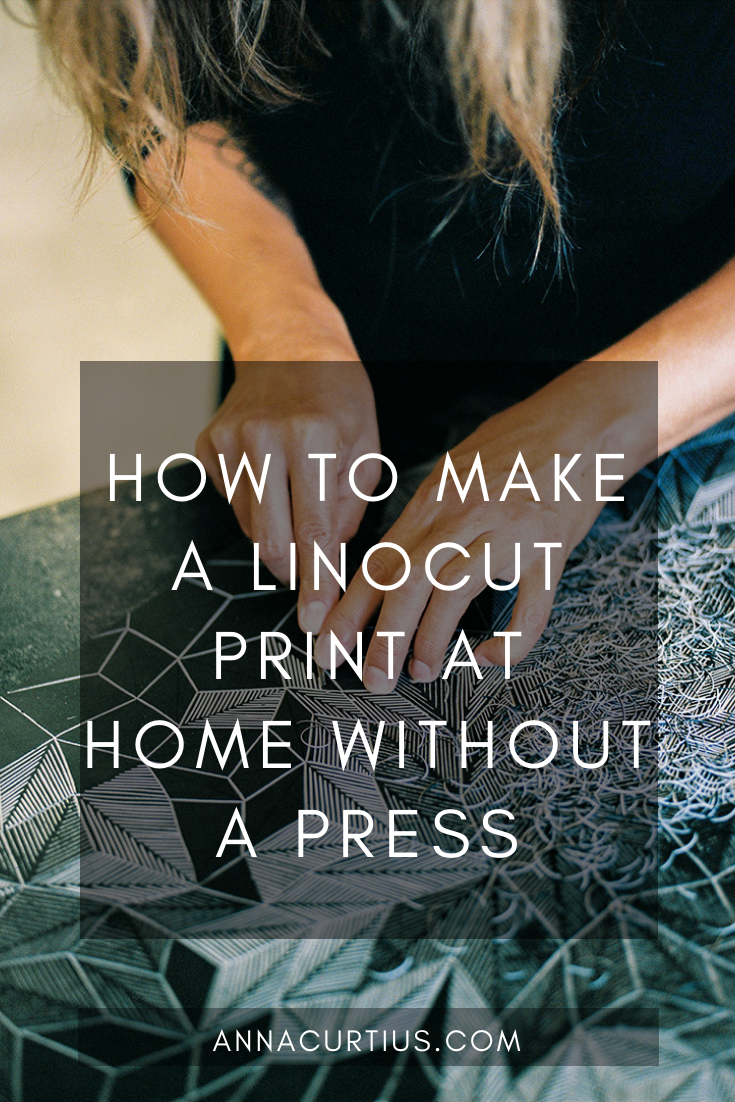
HOW TO MAKE A LINOCUT AT HOME WITHOUT A PRESS
In this post I will explain the basic steps of making linocuts at home without a press. I love the craft of linoleum printing and I hope you will tempted to try it as well.
1. THE TOOLS USED FOR LINOPRINTING

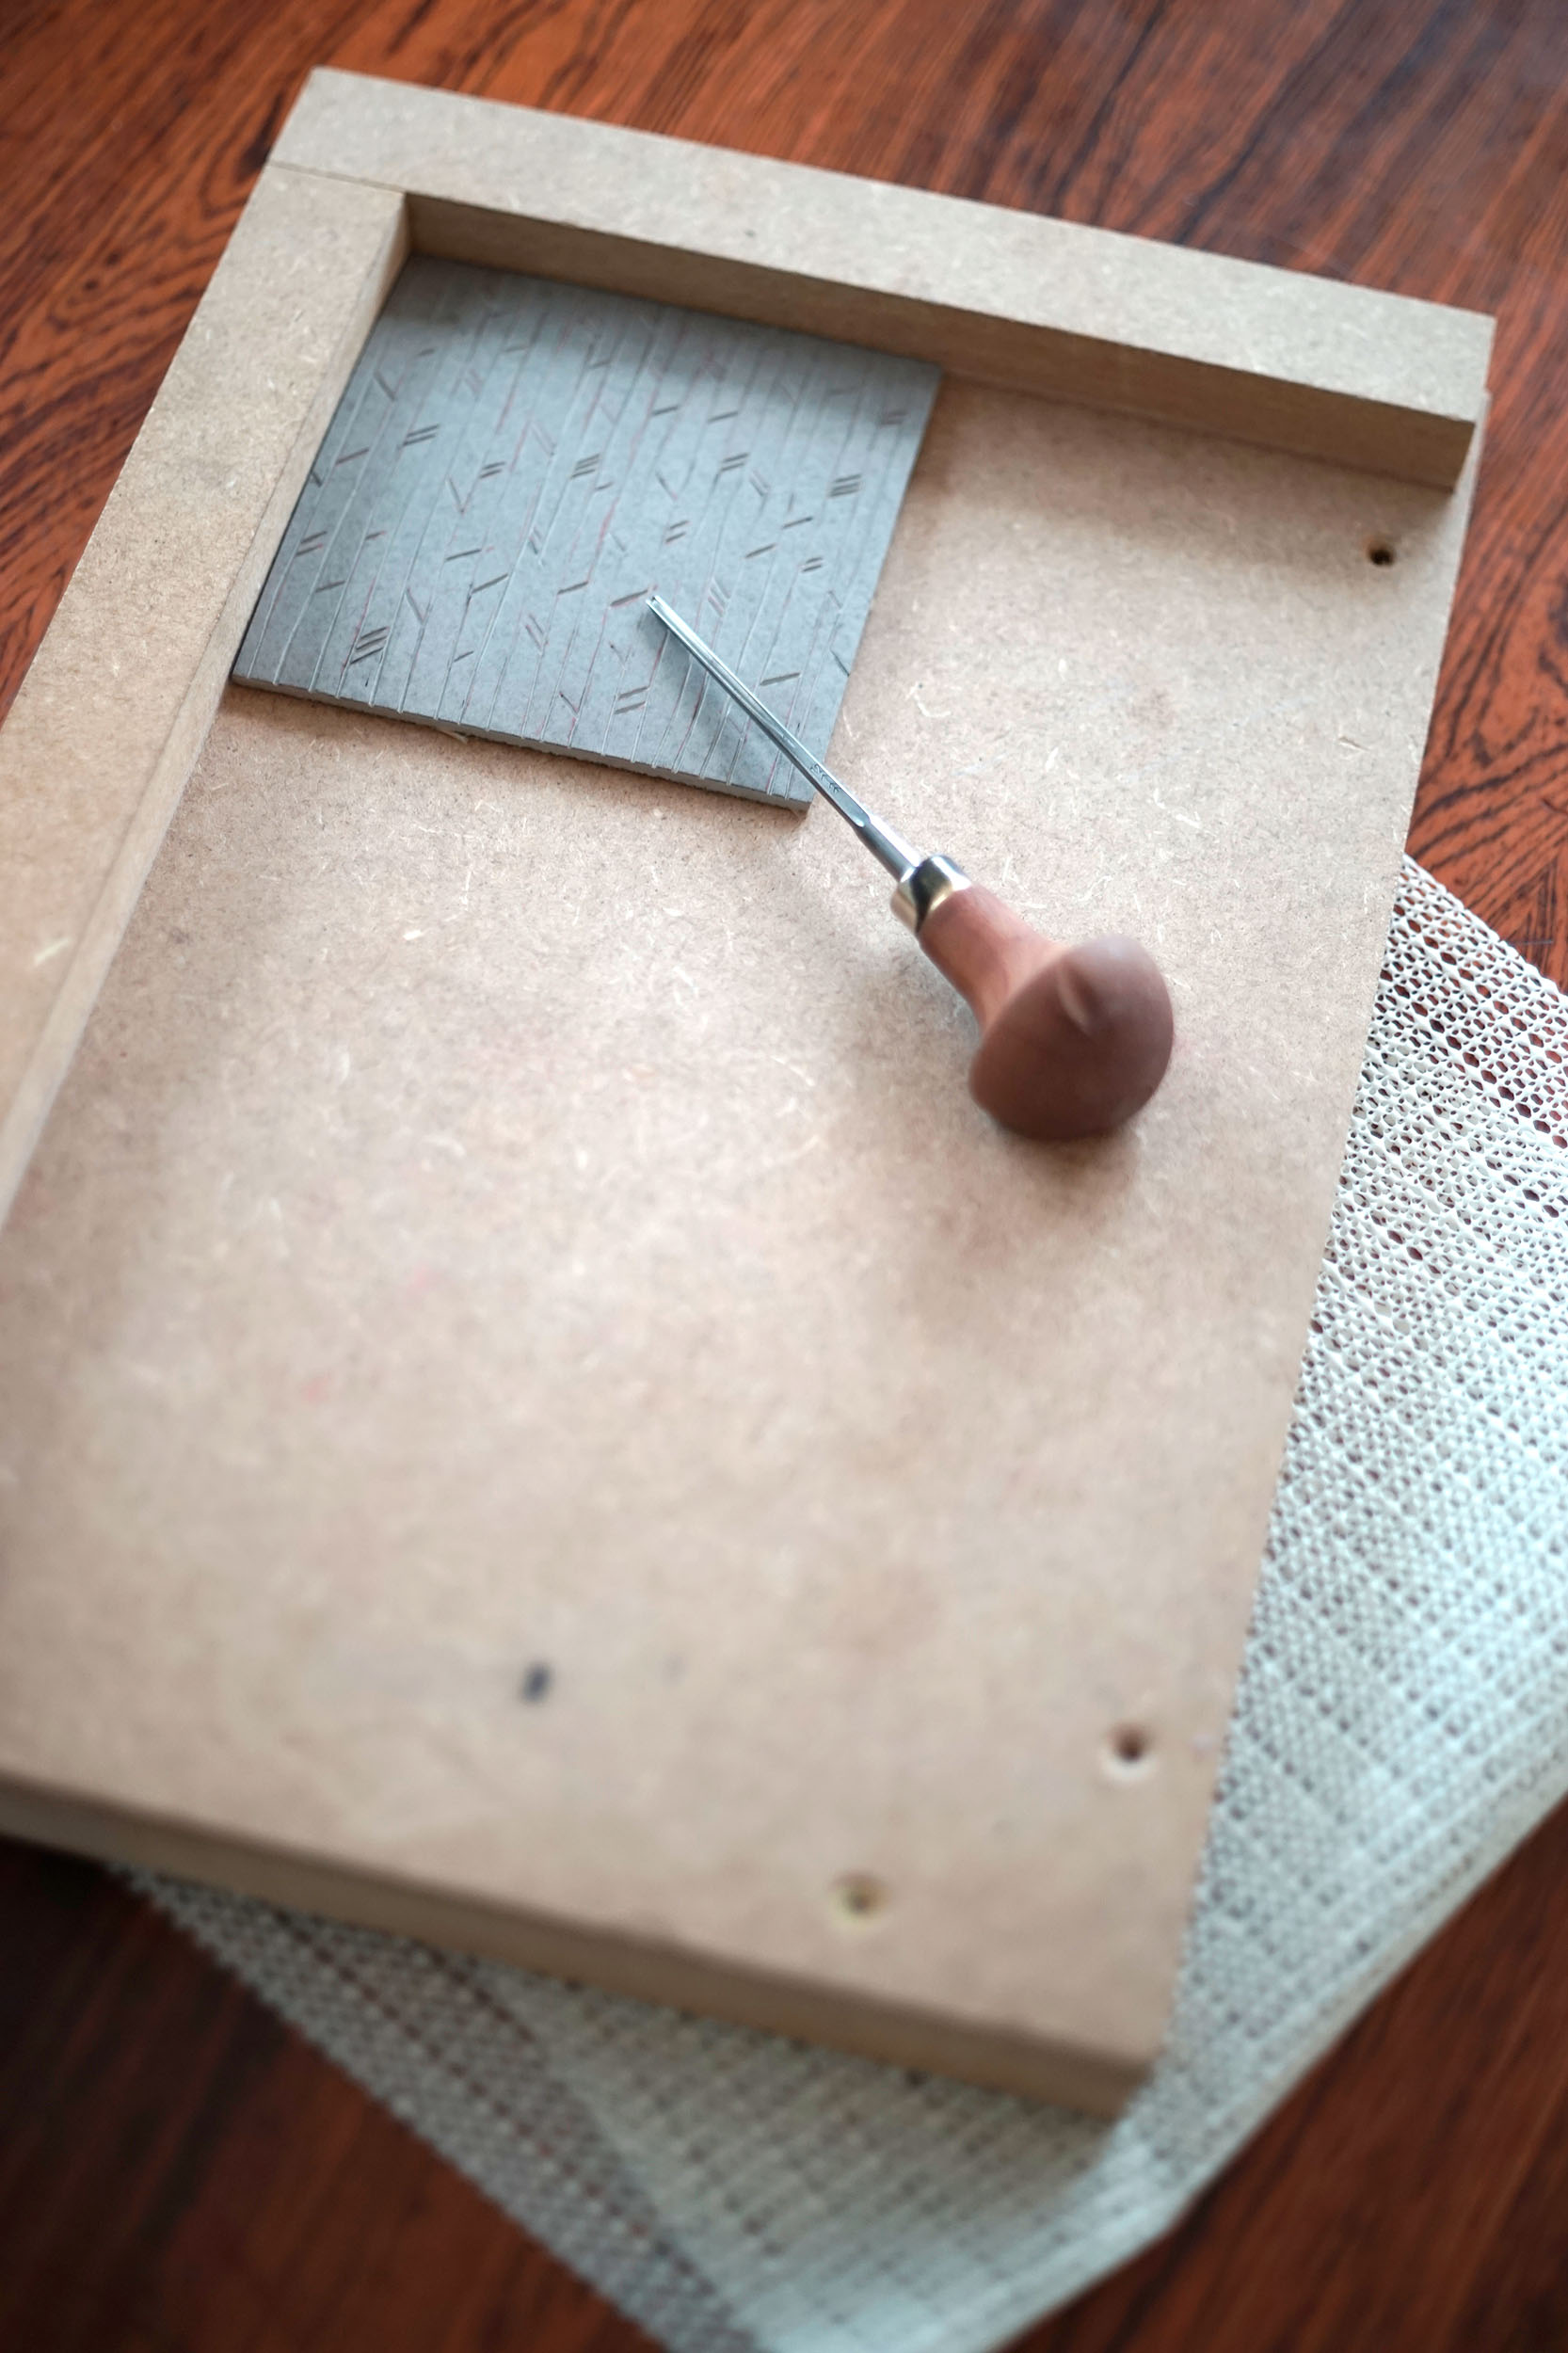

2. DESIGNING AND CARVING
Most of the time I only add some guide lines using a pencil straight to the linoleum and then create the art as I carve. That is how I made the print below. When I have a design that I want to transfer to a plate I use either a carbon paper or trace it with a pencil.
3. INKING THE LINOCUT
The smaller prints I ink and press at my kitchen table. I roll out the ink on 3 mm plexiglas, it has a smooth surface and is easy to clean afterwards. The ink must be evenly distributed on the roller and it must be smooth. If it is too sticky, traces will be made by the ink and it will stick to the edges where you have carved, making the print messy.
4. PRINTING THE LINOCUT
When printing prints sized 20x30 cm or smaller I use my kitchen table and a spoon. You can use a wooden spoon which is more common or a baren. For me, a cutlery table spoon works best with the paper and ink I use.
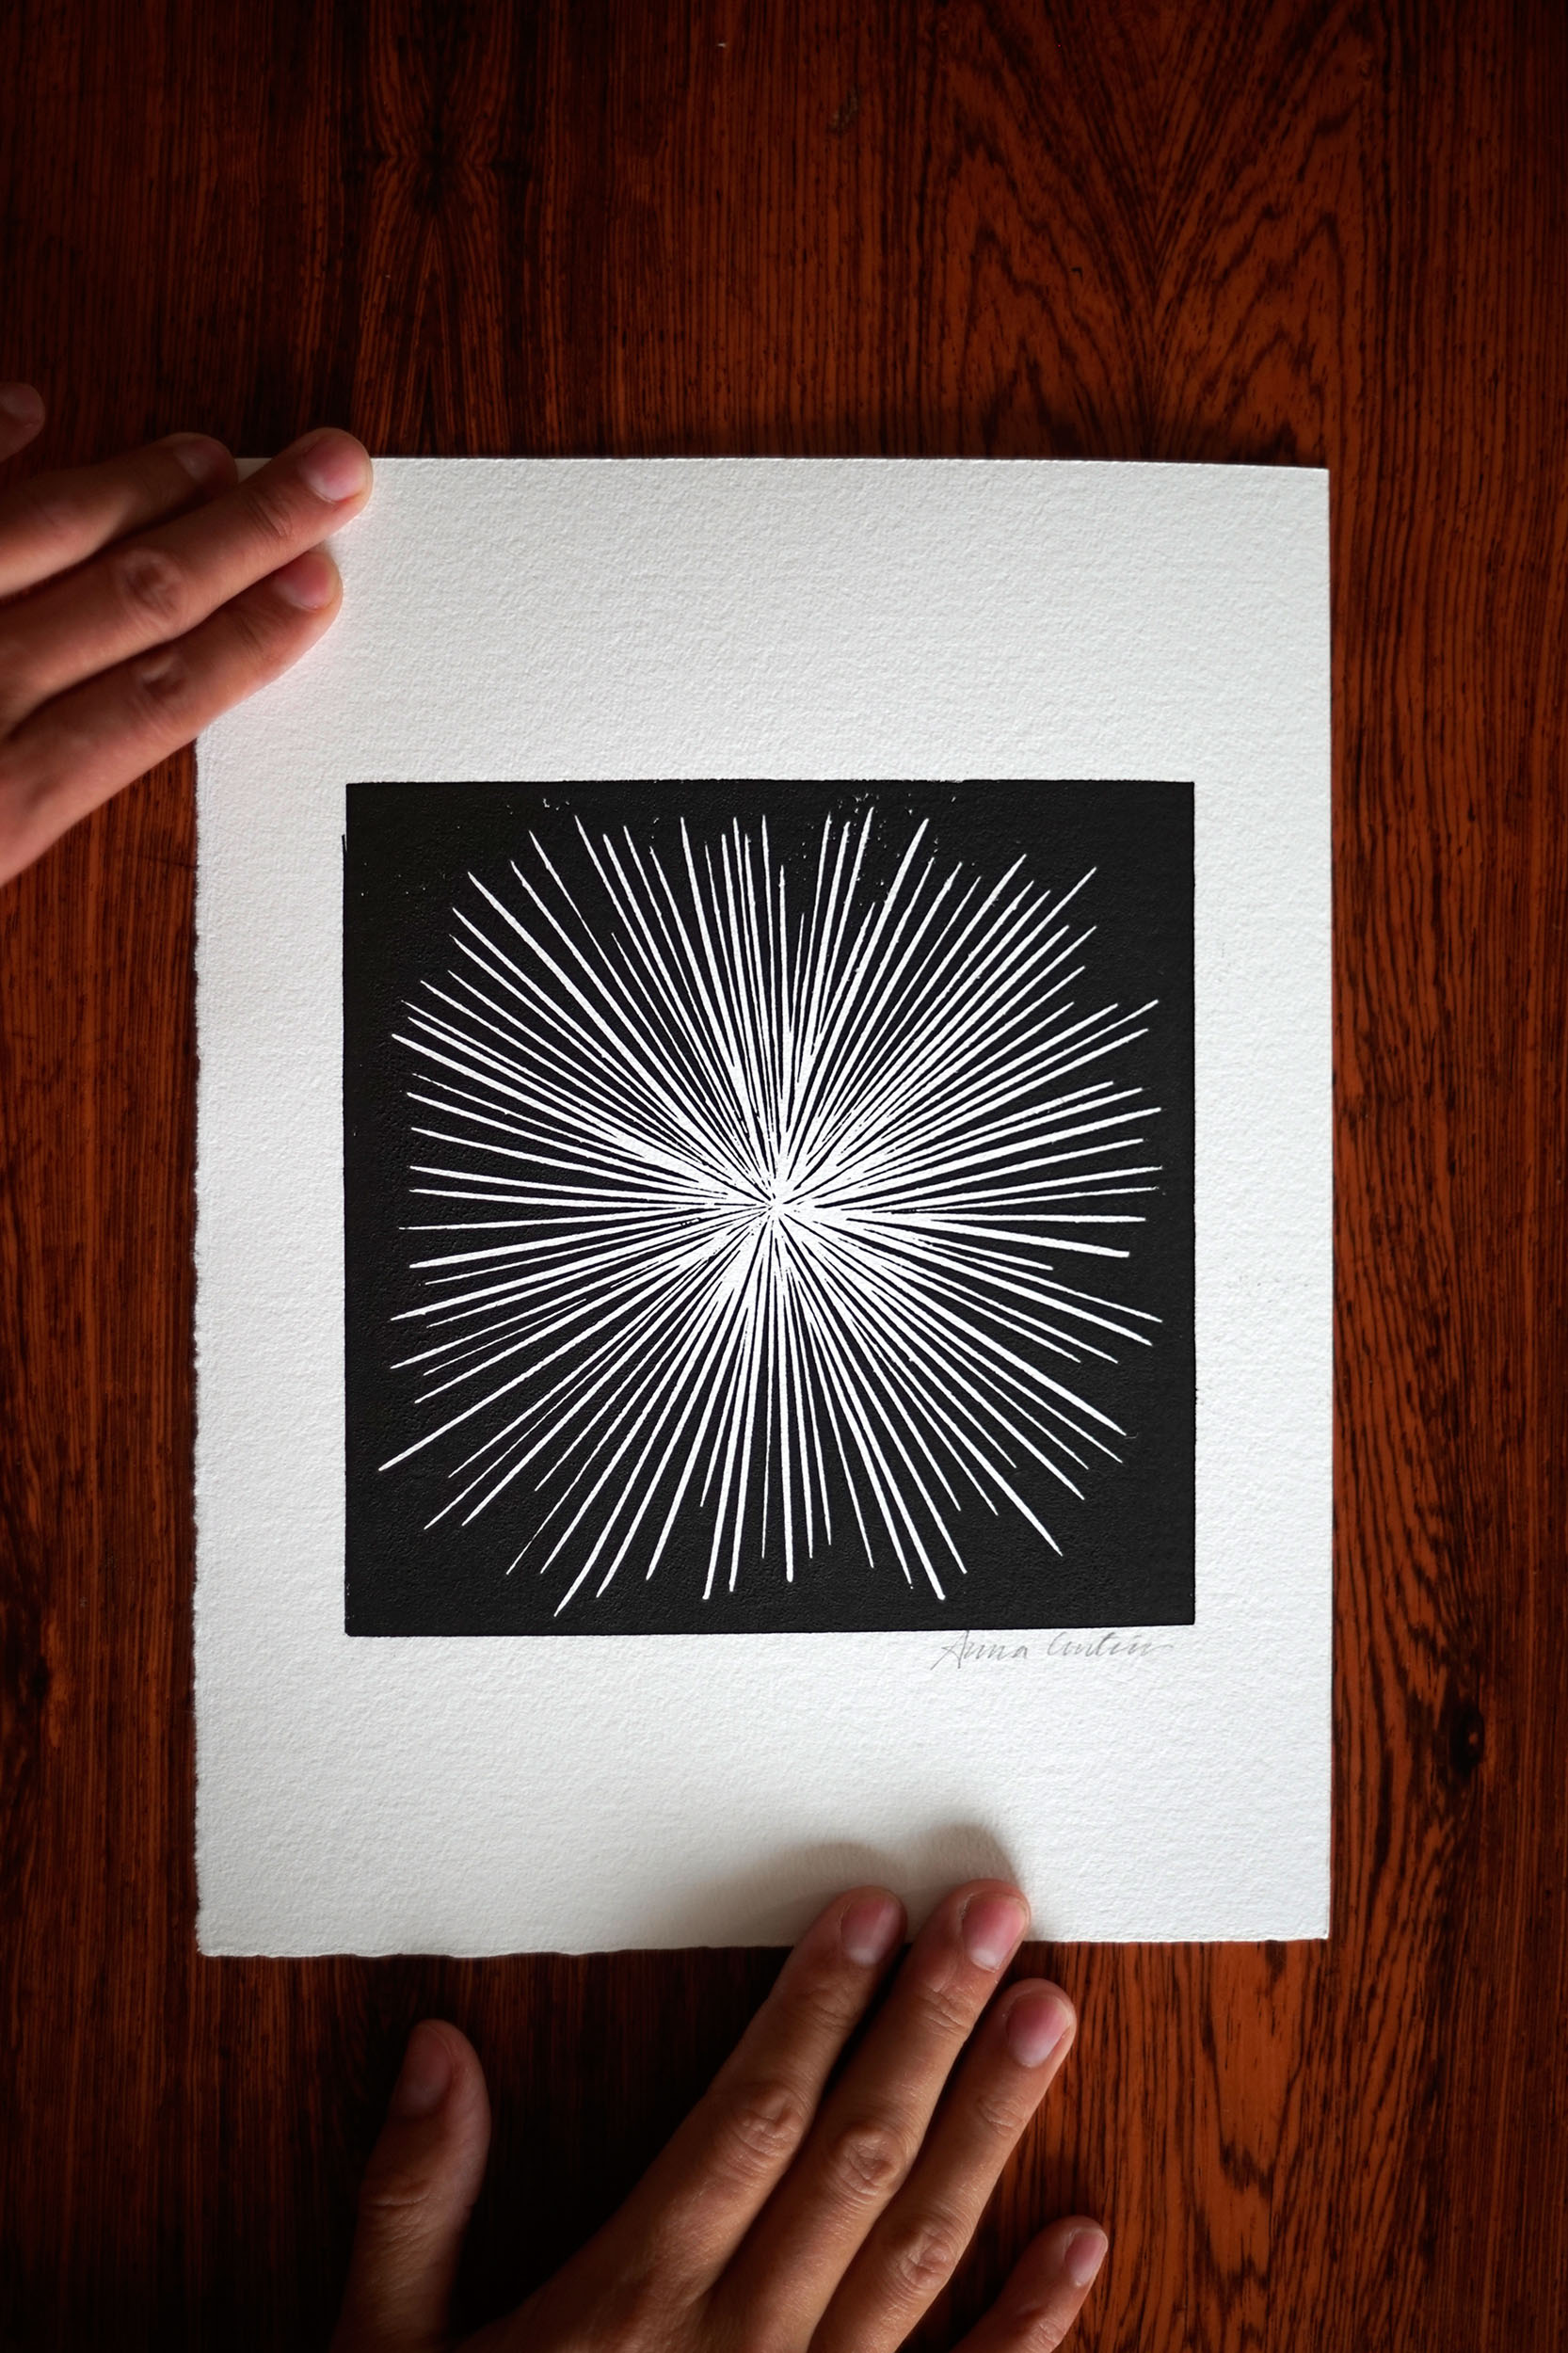
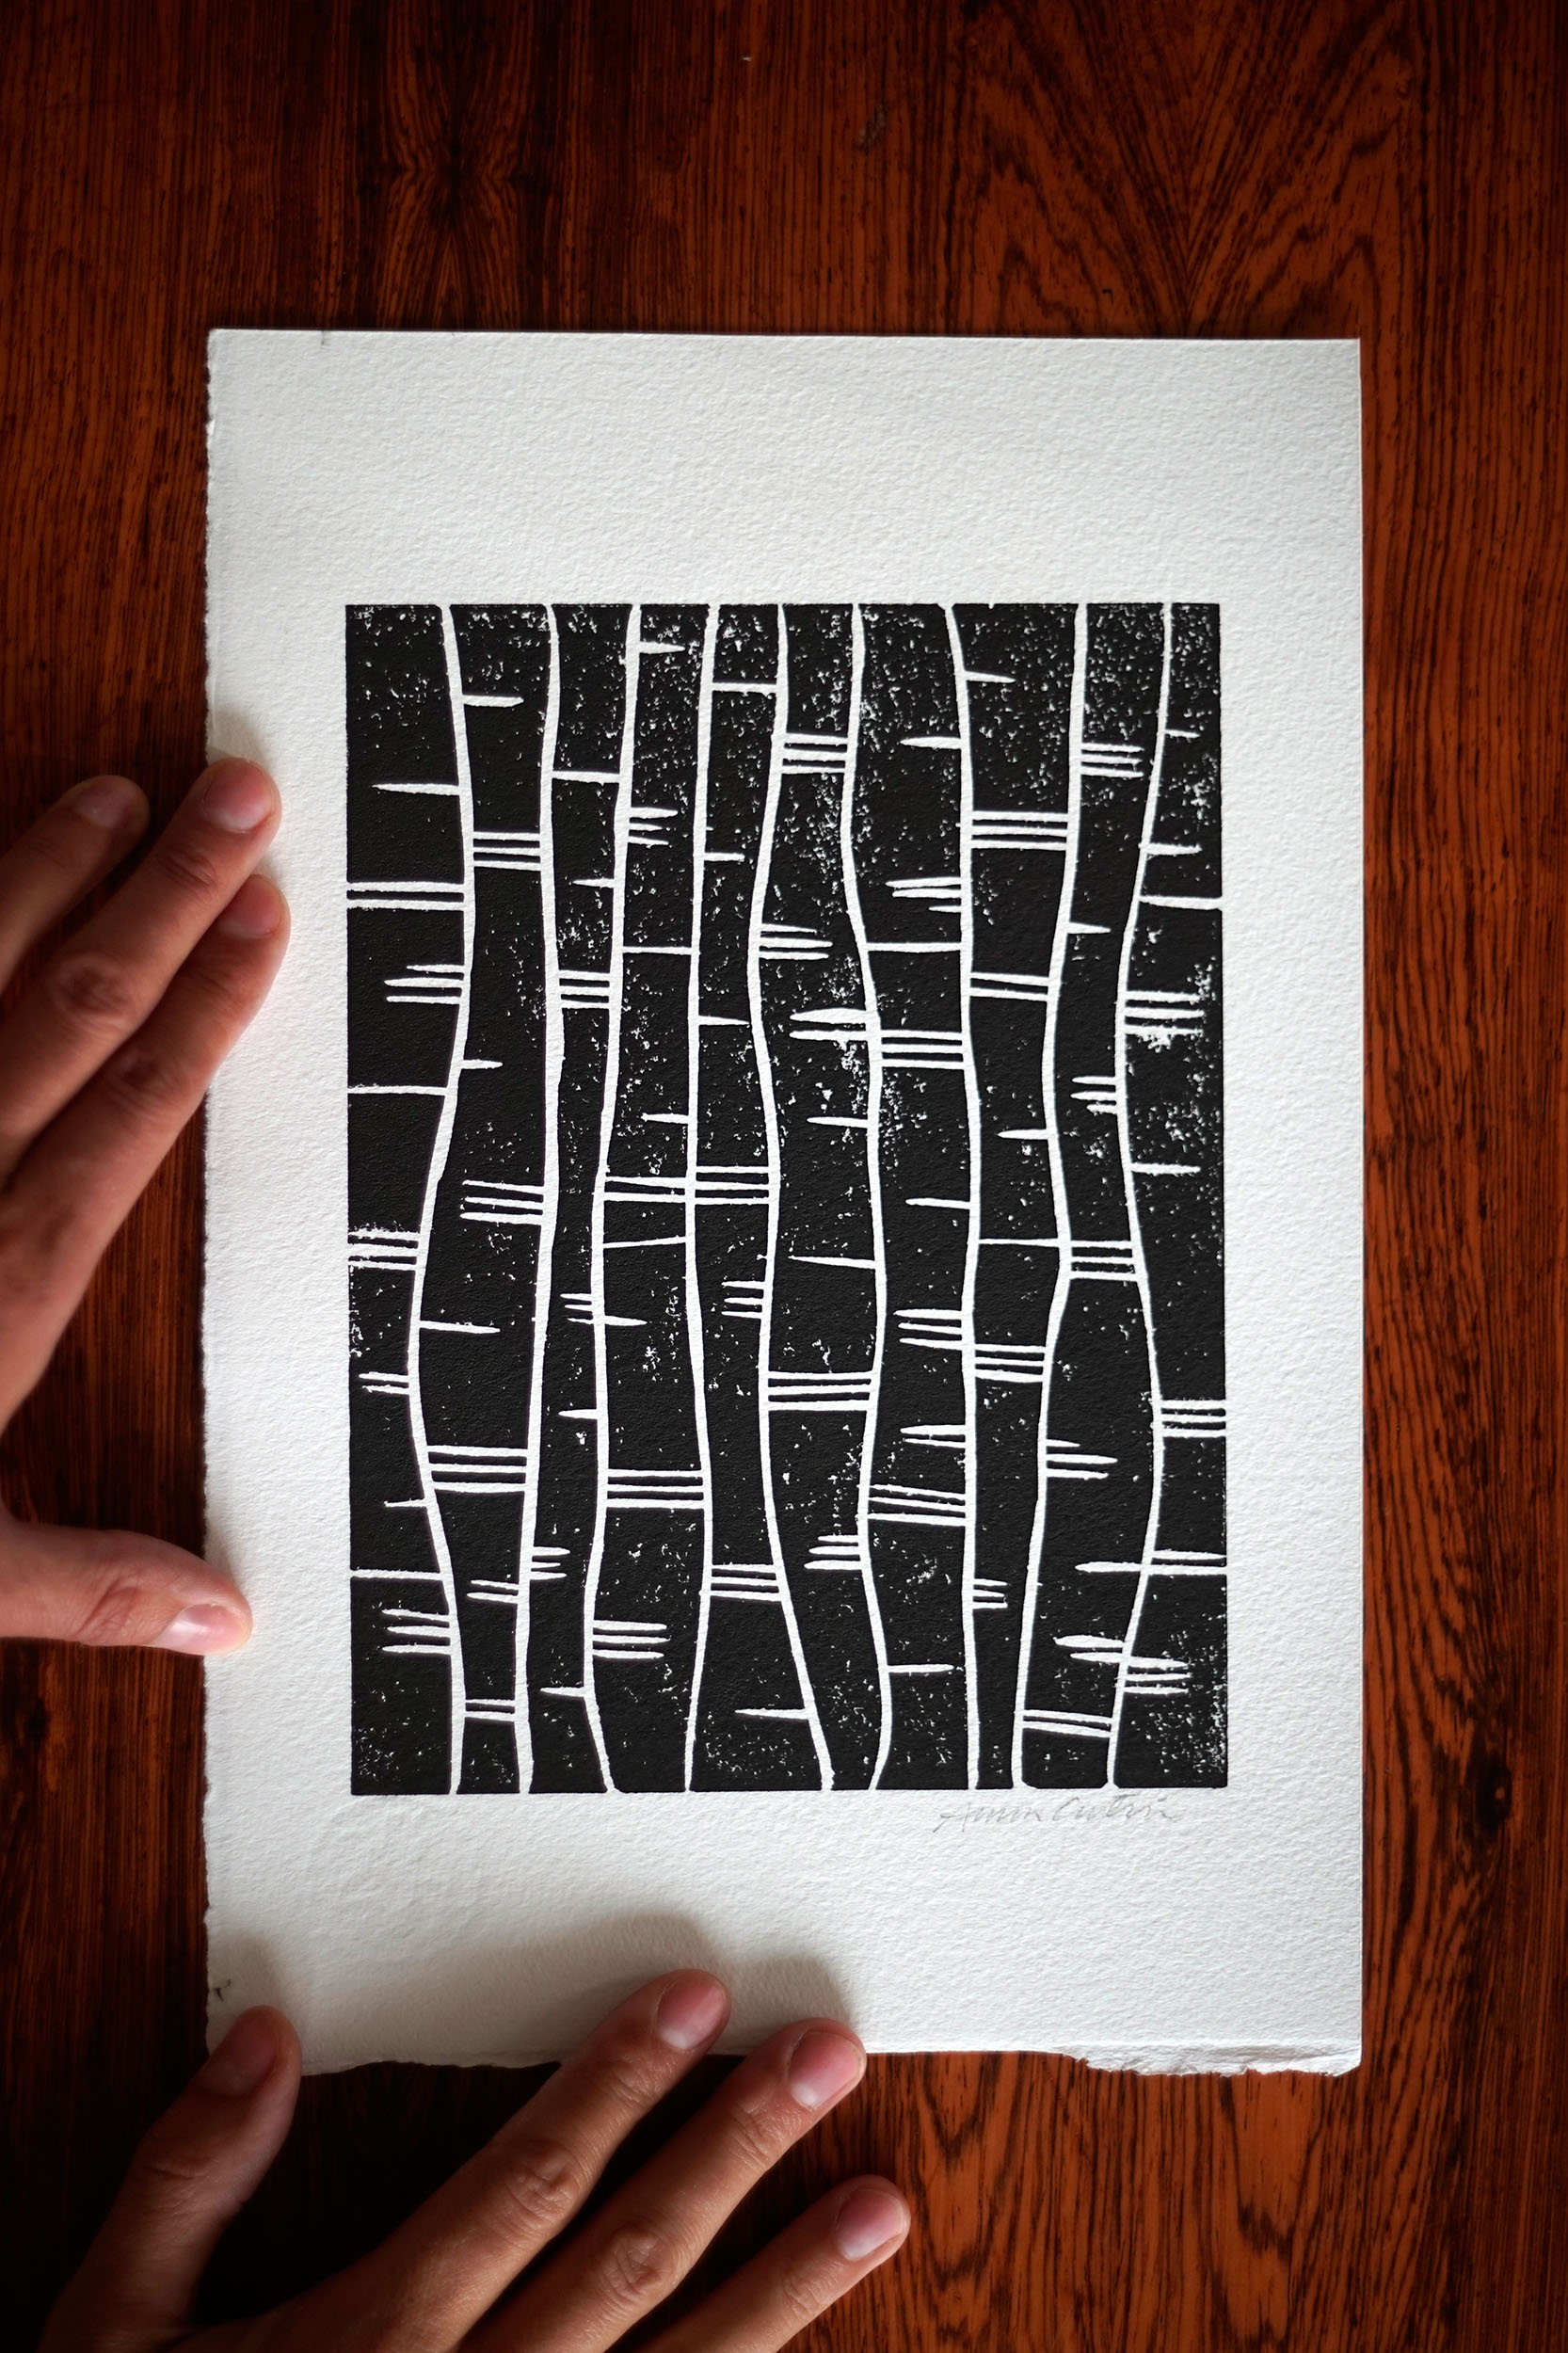
FINAL RESULTS
Below are some of the prints that I've made at home during the last year. I enjoy repetition and the variation and complexity that can arise from one similar element and movement when creating. You can see that my prints below are all created by the repetition of elements.


If you have enjoyed this post and want to receive emails to inspire a more creative life, join my community by clicking the button below:


I would love if we could connect on social media!
Links to suppliers of linoprinting tools:
Daler-Rowney water soluble block printing ink
Lefranc & Bourgeois Lino block printing ink waterbased
Fabriano Rosaspina printmaking paper
Related posts:
My two favourite printmaking techniques
Creating a linocut print: Beyond the middle
Creating a linocut print: We were all born alike