HOW TO MAKE A COLLAGRAPH PRINT IN FOUR STEPS
In this post I'll share my collagraph (or collograph as it can also be spelled) printmaking process with you. I'm fascinated by the unpredictability of collagraph printing. Depending on which materials you use and the inking process, the result can turn out very differently than expected. Which, of course, can be frustrating at times, nevertheless I keep coming back to it again and again. The word collagraphy is derived from the Greek words koll or kolla, which mean glue, and graph which means drawing. And that pretty much sums up the technique, to create a drawing by glueing.
1. CHOOSING THE SUPPLIES
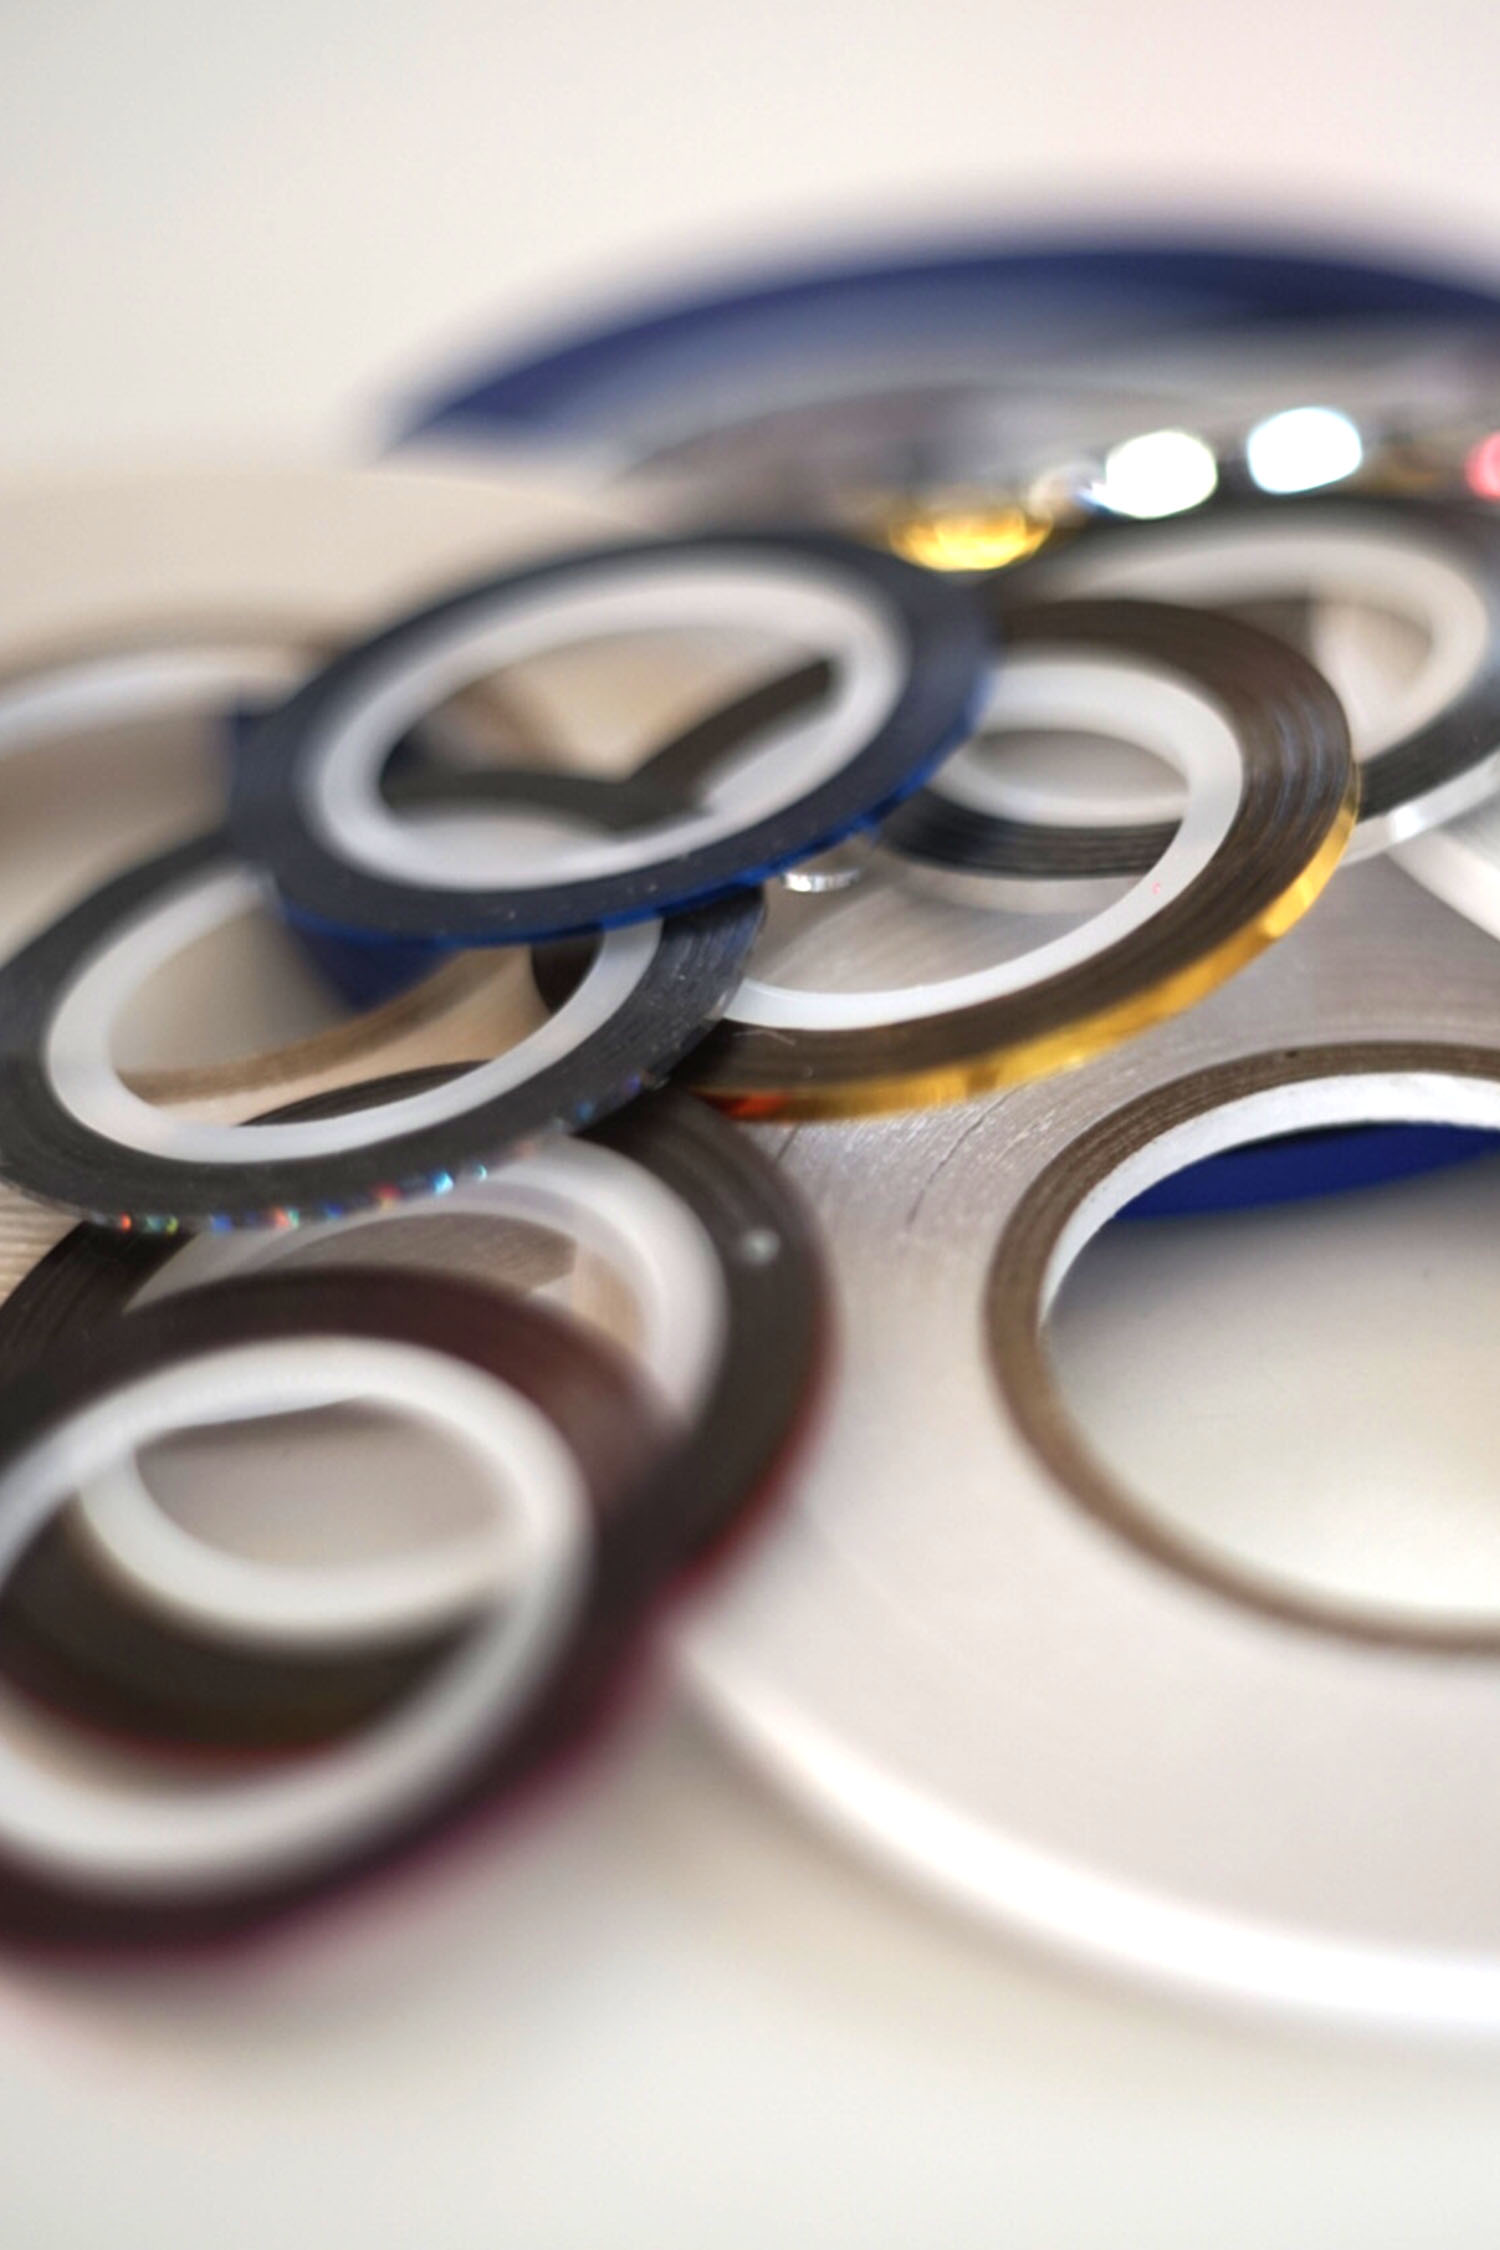
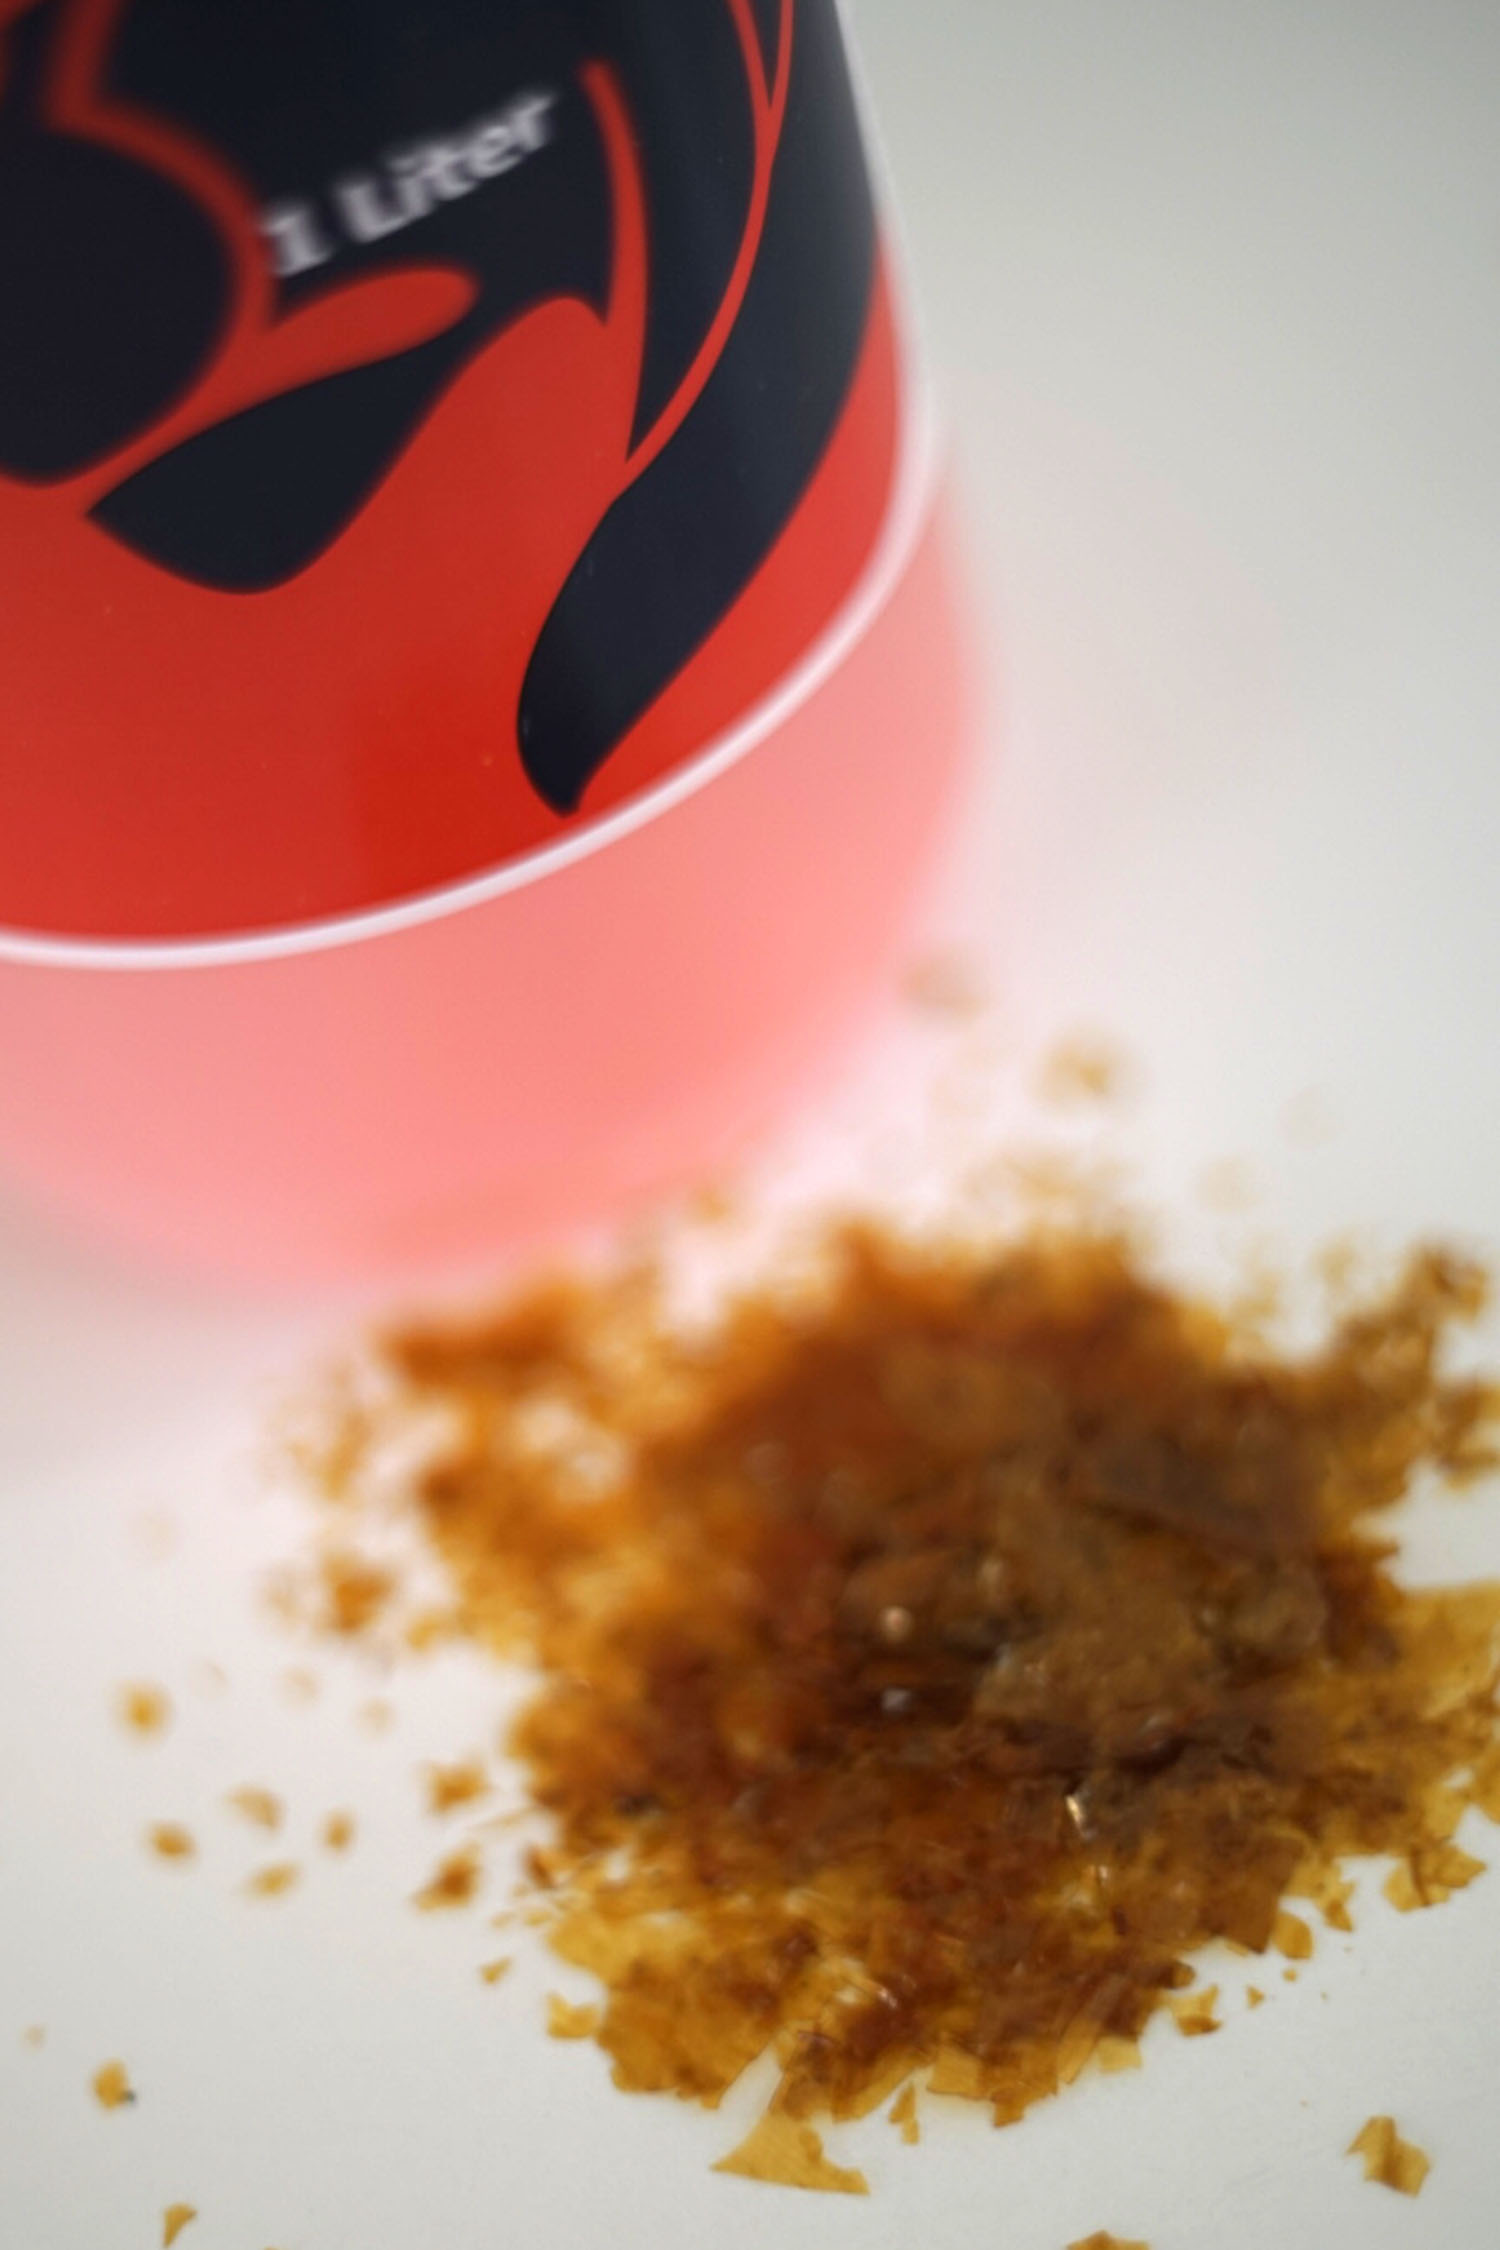
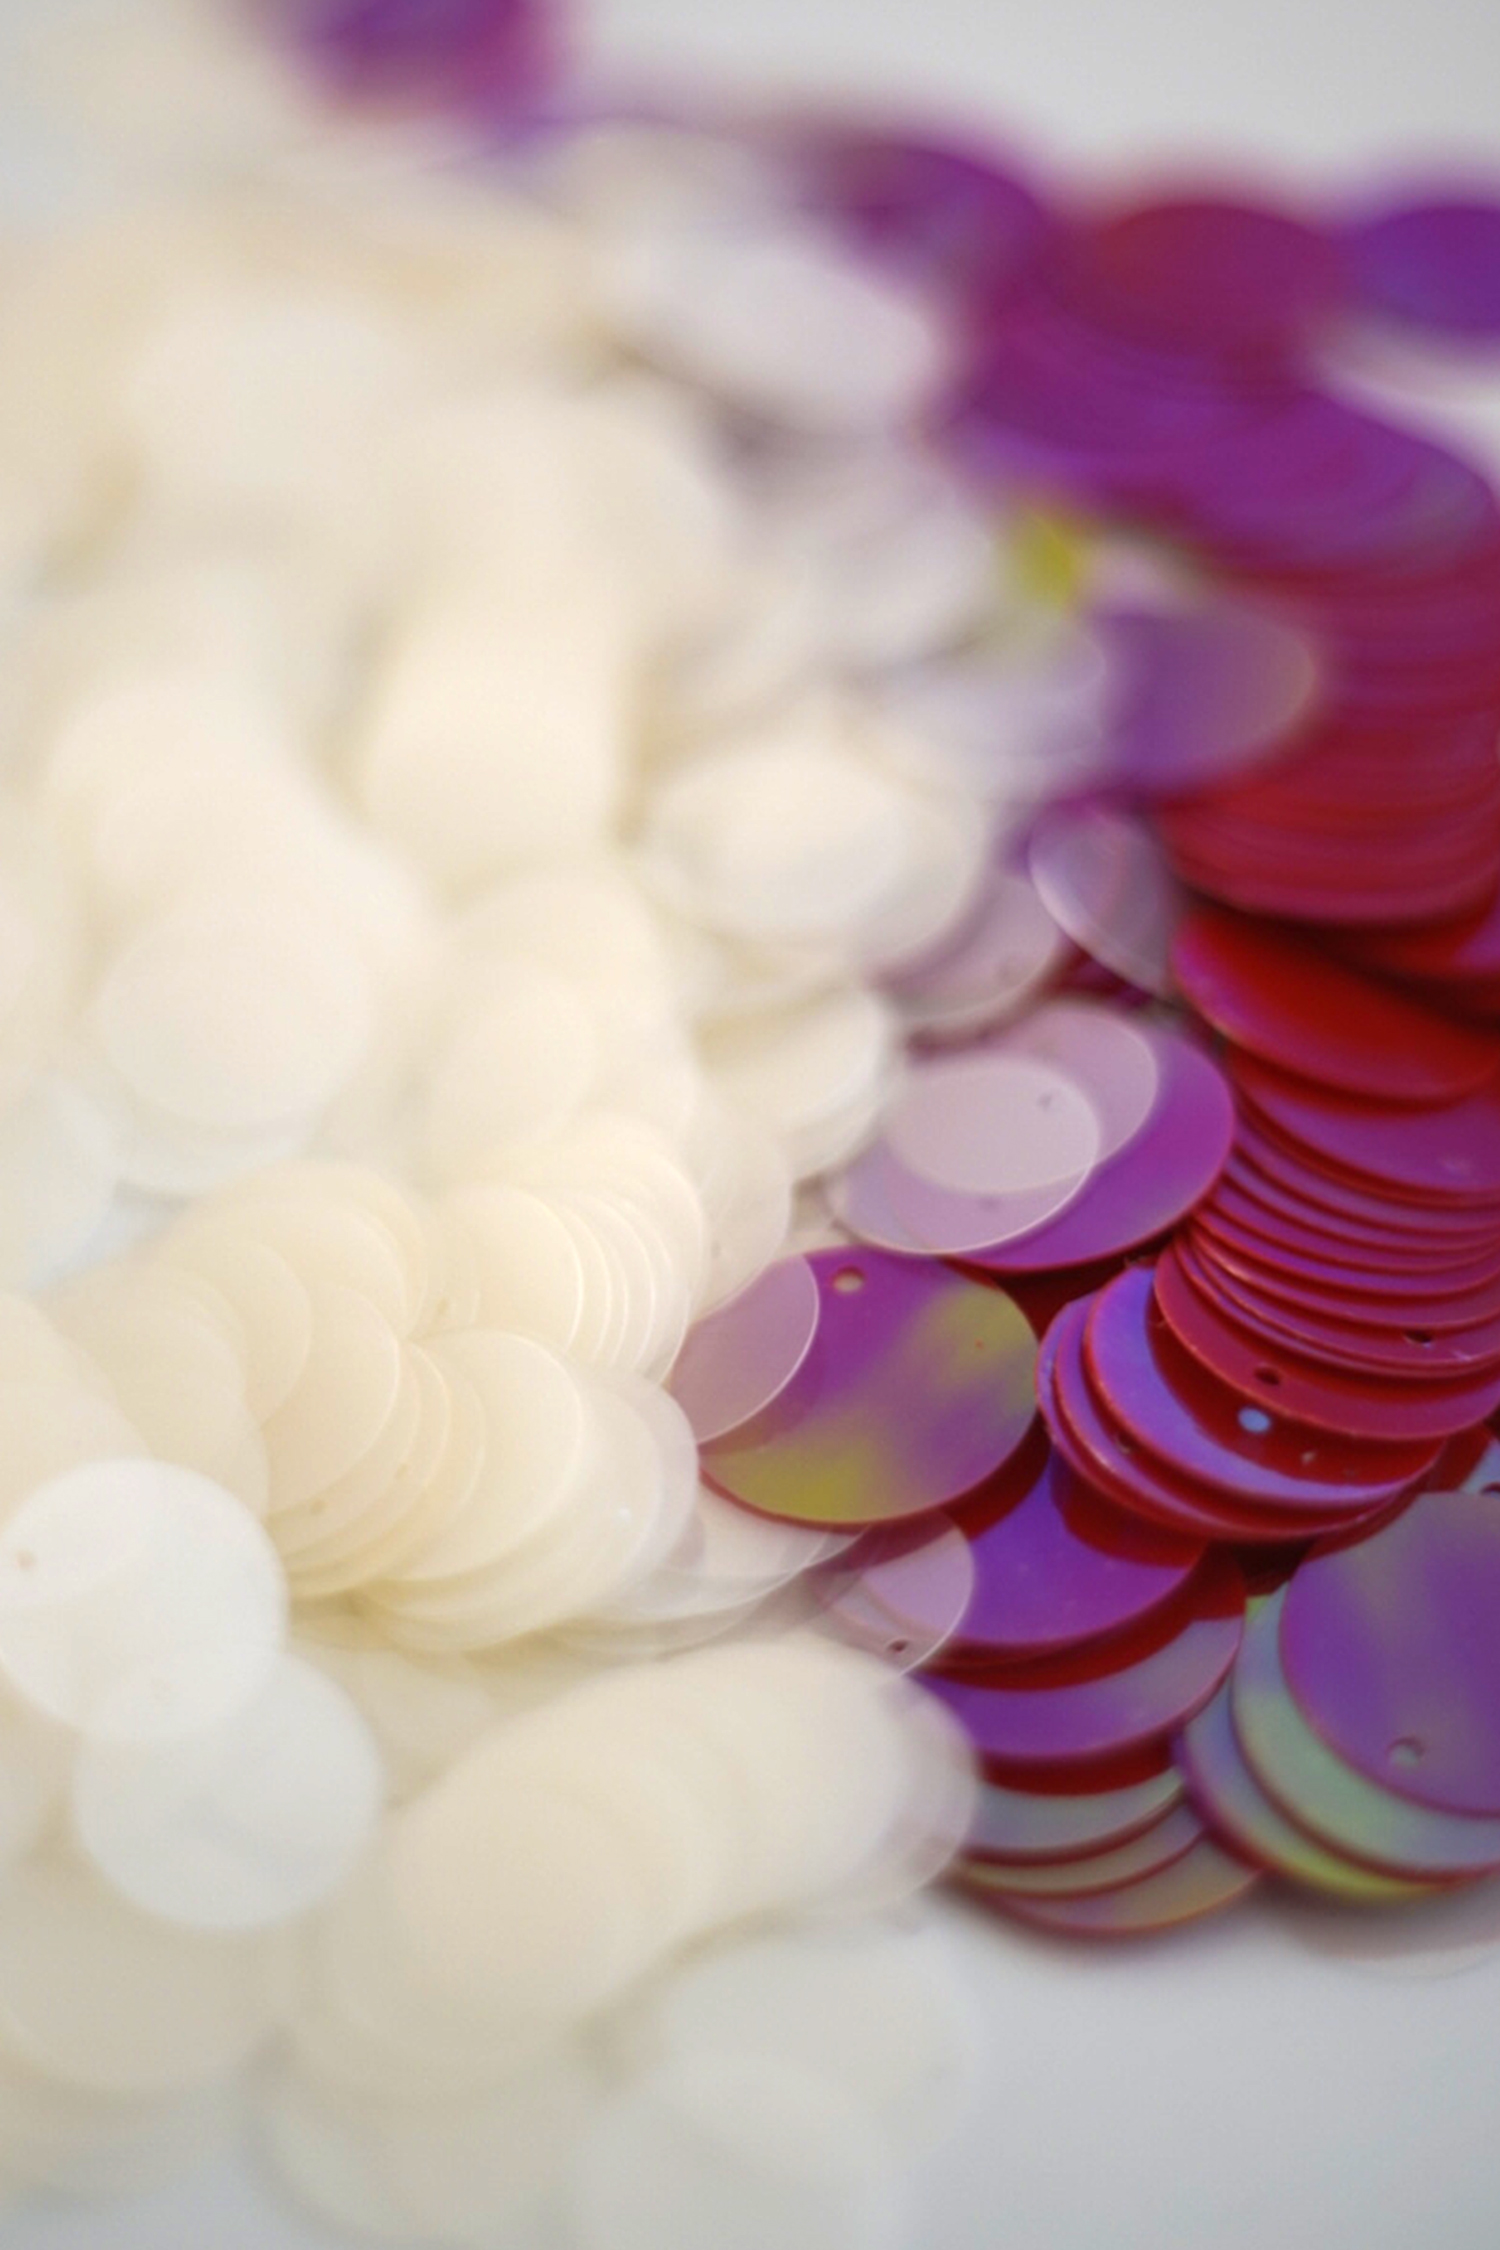
Since I'm fascinated by the process of repeating one single element and the complexity that arises through that, I choose the supplies that I think will reproduce the effect I'm looking to create. With collagraphy, or collography, it is a lot of trial and error, some materials will turn out the way I imagined and some won't. It's down to a mix of the properties the materials have and how they will interact through the process. For example, some glues will dissolve when I put on the protective shellac. In the photos below you can see the supplies I use at the moment; spray mount and glue materials, different kinds of tapes and nail stripes, shellac mixed with ethanol to protect the plate and sequins.

2. MAKING THE COLLAGRAPH PLATE
A collagraph print is made by glueing different materials to cardboard and creating a kind of collage. During the inking process the ink will rub off surfaces that are smooth or higher and stay on surfaces that hold more ink, at edges and at lower points thus creating the image. To protect the plate through the printing process it's sealed with one or more layers of shellac. A collagraph plate is quite sensitive and will be deformed by the pressure of the printing press so the collagraph editions are usually smaller than the ones made with silkscreen or linocut.
When I create a plate I use 1 or 2 mm white acid free cardboard to glue my materials of choice on. At the moment I usually use slow drying spray mount that is permanent after 24 hours to glue for example sequins, paper stripes or vlieseline to the cardboard. Since I like the variation and complexity that evolves through repeating one similar element every plate consists of one or two materials.
In the video below I wanted to create a black background with white stripes. I used spray mount on the cardboard and glued a layer of vlieseline on it since it will hold a lot of ink. I then glued nail striping tape on the vlieseline, it was quite frustrating because it didn't glue very well, but with some patience I managed to get everything in place.
Once I've put on everything I want on the plate it's time to put on shellac. I use shellac flakes that I dissolve in ethanol. The shellac adds a subtle relief to the plate which I sometimes enhance by using less ethanol to create a thicker mix.
3. INKING THE COLLAGRAPH PLATE
While I create the plate at home, the inking and printing is always done at the printmaking workshop. Collagraphy, or collography, could be inked as intaglio, for example as a dry point or etching, or rolled as a relief print, for example linocut. So far I've only used the intaglio technique.
The ink, I use Charbonnel intaglio inks, is mixed with etching oil so that it will rub off easier, although too much oil can make it too easy to rub off and the print won't turn out as expected. First I put ink on the plate with a small rubber tool, then I use tarlatan, a open weave cotton fabric that is stiffened with starch, to even out the ink on the plate. When the ink is evenly distributed I use paper from old telephone directories to rub off the ink. The trick here is to take it slowly and use an even and light pressure.


4. PRINTING THE COLLAGRAPH
When printing a collagraph the paper must be moistened, in the studio we have a big basin that I fill with water and put the printing paper in. I usually print on Fabriano Rosaspina paper that is 220 g/m2. Before it's time to print, excess water has to be removed from the paper, I do this by putting newsprint papers on that soak up the water.


Then it's time to put the plate on the pressing bed, making sure it is in the right place without getting any ink on the newsprint paper that is put underneath to protect the press from getting all dirty. The printing paper is put on top of the plate, then another sheet of newsprint, and on top one or more blankets depending on the height of the collagraph plate and the pressure I need. In the video below you can see the inking and the printing part of the process.
FINAL RESULTS
The reveal of a print is always a special moment, nervousness mixed with excitement, knowing there will either be disappointment or happiness. When a print turns out as imagined, like the one in the video or the ones below, it is a great feeling. You can see in the prints below how I work with the repetition of elements, either different kinds of tape or paper stripes, sequins or glue dots in my art. The repetition, because it's made by hand and not by computer, will always have small variations and imperfections and the collagraph process adds a roughness and a fluidness that I like. For me making collagraphy is an exercise in trusting the creative process and letting the final result evolve without feeling the need to control every part of it.


Discover more about the prints above by clicking on each image or on the button below.


If you have enjoyed this post and want to receive emails to inspire a more creative life, join my community by clicking the button below:
I would love if we could connect on social media!
Supplies I use when making a collagraph:
Fabriano Rosaspina printmaking paper